Quick Links
Each new Phase forWoWSeason of Discoverybrings a ton of new content for players to experience in a revampedWoW Classic. In Phase Two, Gnomeregan was transformed into a 10-man Raidfor Max-level players, complete with new bosses, new mechanics to memorize, and new strategies to learn compared to the original Dungeon.
Like Blackfathom Deeps in Phase one, Gnomeregan serves as the primaryendgame destination for WoW SoD playersin Phase Two. This guide to the SoD Gnomeregan Raid goes over how to beat all six bosses, what you can do to prepare for the Raid, and other tips to get through the annihilated industrial interior of a place that was once home to the Gnomes.

Gnomeregan Location, Route, & Preparation
How To Get To Gnomeregan
As anAllianceplayer, you have it easy. Gnomeregan is found in the northwestern part of the Dwarf and Gnome starting zone, Dun Morogh. Ironforge serves as a very convenient nearby Capitol, where you’re able to set your Hearthstone and easily get to the Gnomeregan location in a matter of minutes come Raid day.
As aHordeplayer,it’s a bit more convoluted, but ultimately you will end up closer to the instance than Alliance players.

After entering Gnomeregan, follow the tunnel until you reach an elevator going down (try not to miss it). Continue to follow the tunnels, then turn left when you come to a wider room. It’s around this point underground that Horde players will teleport to. Continue heading down this path, through the archways, and you should arrive at the instance entrance.
Gnomeregan Raid Layout: Map & Route
The Raid has a similar layout as the original Gnomeregan map, but with a few important distinctions. Players must still defeat Grubbis before continuing on with the Raid, as the Clean Room won’t open until he’s downed. After downing him and heading to the Clean Room on the top floor of the first room, though, the rest of Gnomeregan is relatively linear.
One important thing to note is that the penultimate and final bosses of Gnomeregan both spawn in the same room – and Thermaplugg spawns almost immediately after the Mechanical Menagerie is beaten. Plan to pick up loot from the bosses at the beginning of the Thermaplugg fight, don’t worry about looting it sooner or you’ll pull the boss. Get as far away from the middle of the boss room as you can before the Menagerie goes down to avoid pulling him.

Best Gnomeregan Consumables & Other Preparation Tips
Because Gnomeregan is amuch more demanding Raid than BFD was, and depending on how strong your party is, you need to prepare ahead of time with the proper world buffs and consumables.
The Gnomeregan World Buff can be picked up in Ironforge and Orgrimmar whenever someone turns in the quest to defeat Mekgineer Thermaplugg, which happens pretty often. Hang around these cities for a few minutes, and as soon as the World Buff pops, head to a Reagent vendor and store it until Raid time with a Chronoboom Displacer.
The best SoD Consumables for Gnomeregan differ by class and role, and include a mix of Well Rested-inducing Food and potions to imbibe during crucial parts of the various boss fights. In general, every class and role can benefit from carryingFree Action Potions, Greater Healing Potions, and Fire and Nature Protection Potions, especially for the final boss.
How To Beat Grubbis
Grubbis Boss Strategy
To a certain extent, the first three bosses of SoD Gnomeregan Raid are “free”. As long as your Raid group is relatively well coordinated and understand the one or two Mechanics that come into play, you’ll clear half of the Raid. And Grubbis is first for the slaughter.
After beginning the short RP sequence, a few waves of Troggs will spawn. For the first three waves, focus on justkilling the enemies as fast as possible. Then, for the last three waves, green clouds will spawn and begin to follow a random player. Drag this green cloud into the wave of Troggs to instantly kill them all in a wide radius.

However, during the boss fight, it’s imperative that this poison cloud doesnottouch Grubbis. He gets a buff if he makes contact with it, so instead kite it around the room until the boss is dead.
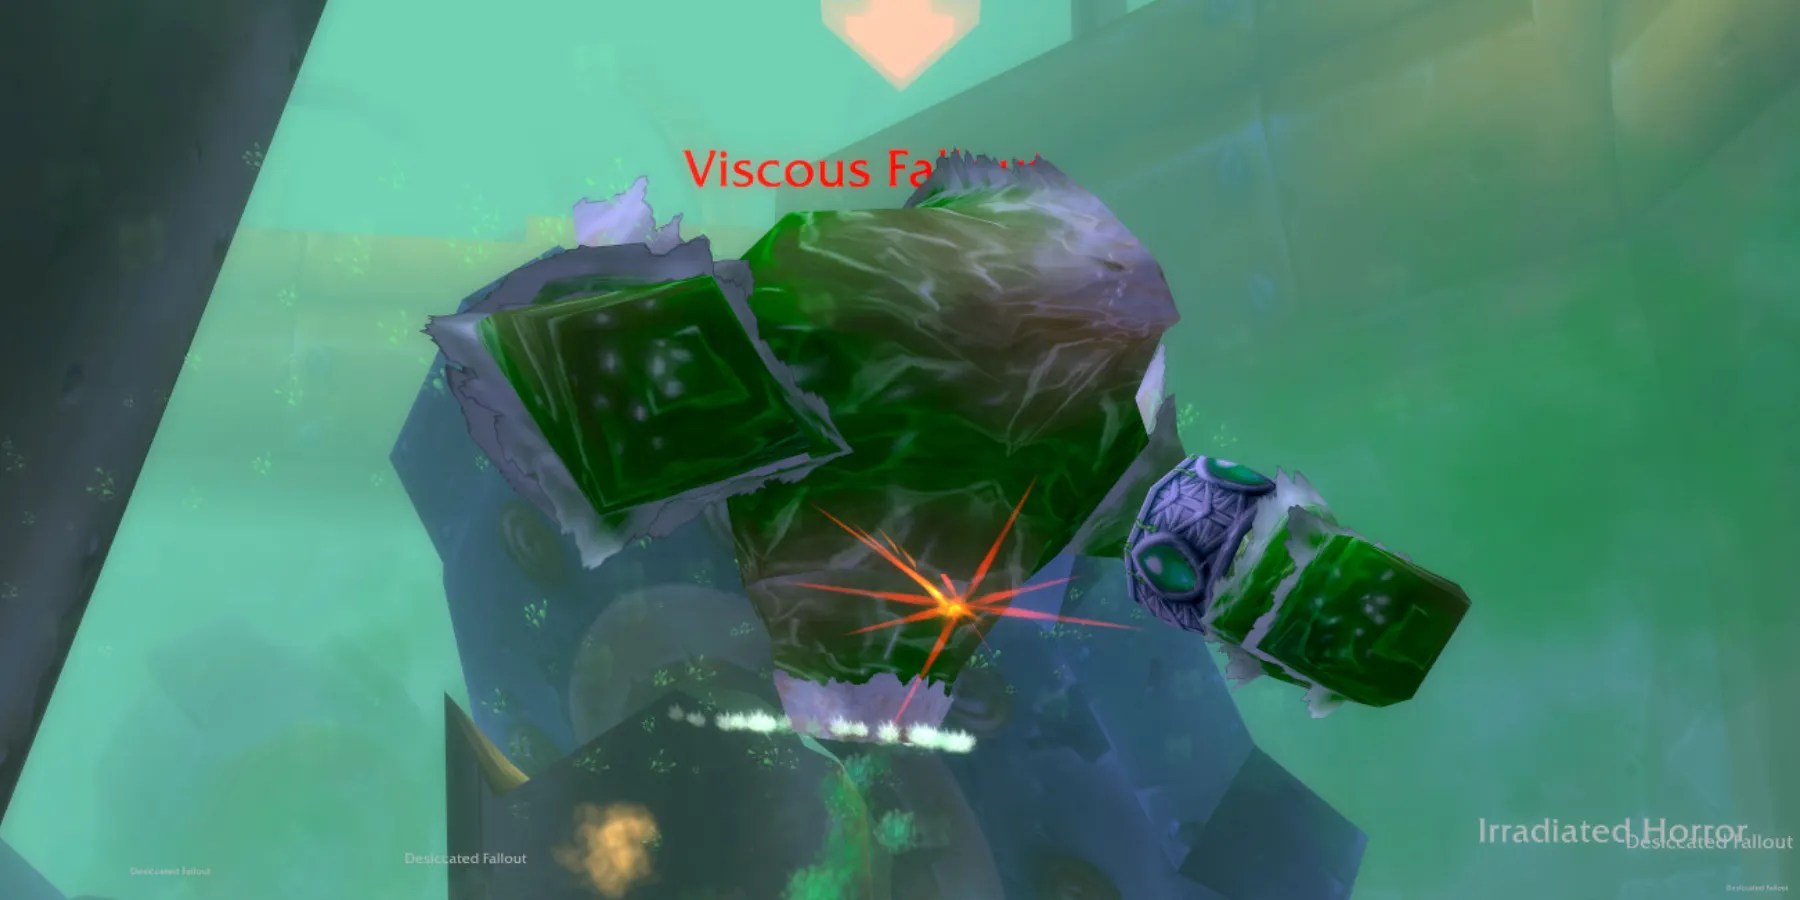
How To Beat Viscous Fallout
Viscous Fallout Strategy
The Viscous Fallout Gnomeregan boss has two major mechanics. It will spawn pools of Sludge regularly through the fight, forcing Tanks to kite it and DPS to avoid making contact with the area. It will also summon three Irradiated Goo a few times in the fight. These mobs slowly make their way to nearby Bracers and transform into a Desiccated Fallout, which can destroy casters' Mana and cause a wipe.
DPS must immediately swap to the Goo and kill them before they transform. Abilities like Kidney Shot and Hammer of Justice will slow it down and can help to prevent their transformation.

How To Beat Crowd Pummeler 9-60
Crowd Pummeler 9-60 Boss Strategy
The Crowd Pummeler is the third boss of Gnomeregan, and requires the Raid to pay attention to the boss' orientation. Every so often, the Crowd Pummeler will launch players forward in a straight line from the direction its feet are facing. Watch for the Gnomeregan Smash ability, and get out of the way to avoid being thrown off the edge.
It will also cast The Claw on a random player – if you can, Feign Death or Vanish to nullify this attack. Otherwise, its target will take a chunk of damage, whichmust be healed quickly. Small Gears will spawn throughout the fight and go around the boss arena, knocking players back and dealing a small amount of damage. Avoid touching these, and you’ll make it through to the next boss with few issues.

How To Beat Electrocutioner 6000
Electrocutioner 6000 Boss Strategy
The Electrocutioner 6000 is the first boss in Gnomeregan that requires a relatively complex strategy. The boss will target the furthest enemy away with Static Arc, a chain lightning ability that deals immense damage. Ranged DPS and Healersmustsplit into two groups of three – pulling in a melee DPS if necessary. One group will stand slightly closer to the boss, and one at max casting range. When the group further away takes damage, theymustswap places with the closer group. Then, when that group gets targeted with Static Arc, repeat the process again.
Melee DPS and Tanks have to deal with Static Field, an AoE centered on a random Raid member. If you get this, move away from other players until it falls off. It can target Ranged players too, in which case you must carefully watch your positioning to remain in formation while staying away from other party members.

How To Beat The Mechanical Menagerie
Mechanical Menagerie Boss Strategy
The Mechanical Menagerie is a awesome boss fight that requires serious coordination from the entire Raid. The bossesmustdie within about 10 seconds of each other, so DPS have to communicate and verify all bosses go down at the same time. Tanks must focus on their movement around the room while also managing buffs that the bosses can trigger for each other. Healers have a lot to do, too, thanks to the sheer damage output that the Chicken can do, and thanks to the potential for bad placement to cause the Sheep to destroy the Raid in a few globals.
It’s a messy fight, and a lot of the success here is up to Tanks' ability to Kite and manage Threat, and DPS' ability to focus down the right enemies at the right time. Be prepared to try this fight several times before the strategy “clicks”.

Once the bosses are downed,get out of there. Mekjineer Thermaplugg spawns almost instantly upon the last boss going down, but he won’t aggro if you’re off the central platform area.
How To Beat Mekgineer Thermaplugg (STX-96/FR)
STX-96 Boss Strategy – All Thermaplugg Phases
Sicco Thermaplugg is a boss fightwith a lot of things going on. For one, Thermaplugg has no fewer than four phases, and recovers all of his HP as he transitions after being brought down to 50%. For another, there are Bombs that will spawn from the six pillars around the room constantly, which deal a lot of damage and leave a damaging pool that players must avoid.
Coordinate to have each vent, and each button, covered by a Ranged DPS or Healer. Raid members on buttons should still focus the boss, but press their button ASAP if bombs start to spawn from their vent to negate the mechanic entirely. However, arguably the easiest way to mitigate the Bomb mechanic is to have a caster with instant spells (like a Metamorphosis Warlock) completely dedicated to destroying Bombs that spawn. You should still plan to have the two Pillars closest to the entrance to the boss arena covered, but in this case, the caster can both presssomebuttons, but instantly destroy any Bombs that spawn.
If you can deal with the Bombs, you can beat Thermaplugg. Though each Phase has different mechanics that must be dealt with in specific ways (explained in each of the Gnomeregan Role tips below), it’s mostly a DPS check if the Raid understands mechanics.
