ThePit of Heresydungeon is one of themany activities includedinDestiny 2’s Shadowkeep update. Players that have yet to explore the Shadowkeep content should try to complete it, as there are both armor and gear rewards in the questlines. At this point inDestiny 2Beyond Light, many gamers have already explored everything Europa has to offer.
RELATED:Destiny 2: Where & How To Find Ethereal Charms
On Luna, guardians can still complete the many essence quests as well as the Nightmare Hunts. While on the moon, gamers need to speak with Eris Morn, who is the main quest NPC. She will also give guardians the Deepening Wake questline, which will unlock the Pit of Heresy dungeon.
Updated on Jul 18, 2025, by Aldous Foster:Destiny 2 is constantly evolving with new weapons and exotics every season. However, Pit of Heresy is still a great activity even for veteran players because it rewards high-stat roll armor and some great legendary weapons. With the release of Lighfall, many new players are jumping into the Pit of Heresy for the first time, and veteran players may still be looking for the perfect god roll or trying to Solo Flawless it. Either way, these are the weapons, subclasses, and tricks they should be aware of for their run.

The Deepening Wake
After completing the Shadowkeep questline and receiving The Deepening Wake quest fromEris Morn, guardians will have to complete two objectives. The objectives are to open a tier III chest at the Altars of Sorrow and kill 20 nightmares while participating in the Altars of Sorrow.
This initial part of the questline should be relatively easy because once they have participated in the Altars of Sorrow, gamers will most likely have 20 nightmare kills and tier III armor. A ton of players can participate in the activity at once, so guardians should have ample support. Any build will do here, especially if it has a way of dealing some area of effect damage. After completing the short challenge, the Pit of Heresy will be accessible on the map.
Players looking to farm for some of the great weapons that the Dungeon has to offer may want to complete weekly bounties for Eris first as this rewards them with a Hymn of Desecration. Using this item greatly improves weapon drop rates for the Necropolis and Chamber of Suffering encounters.
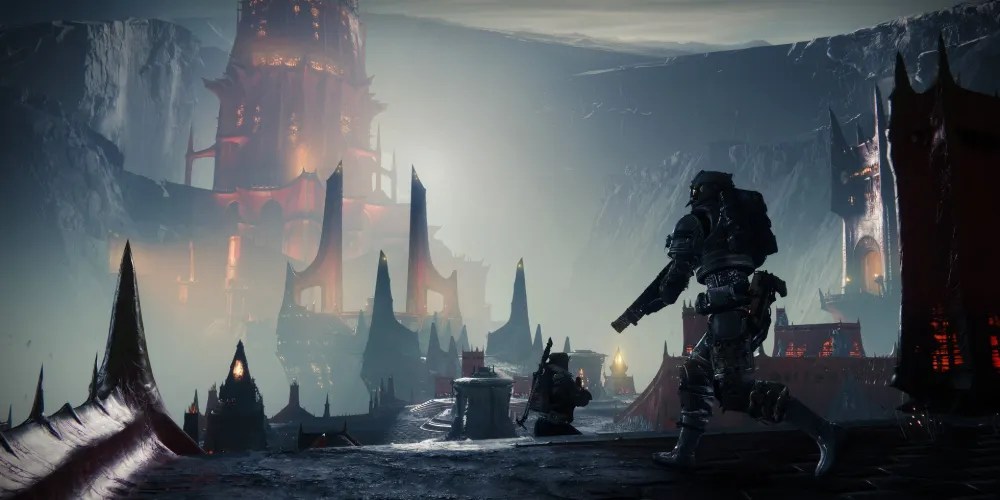
The Pit Of Heresy
Pit of Heresy being an older dungeon,players no longer need to worry about beingat the right power level, as the activity is marked at 1600 power, which is the lowest power a player can be as of Lightfall. Fireteams can include up to three players, and it is probably better to complete the dungeon as a team. It is possible to complete alone, but solo players should be ready for a challenge.
RELATED:Tips For The Pit Of Heresy Dungeon
As soon as players enter the dungeon, they will fall into the depths of the pit one cliff at a time. Guardians need to make sure to use their jump ability carefully, as there are multiple sheer drops on the way down. Once they have made their way down the cliffs they will find the first encounter.
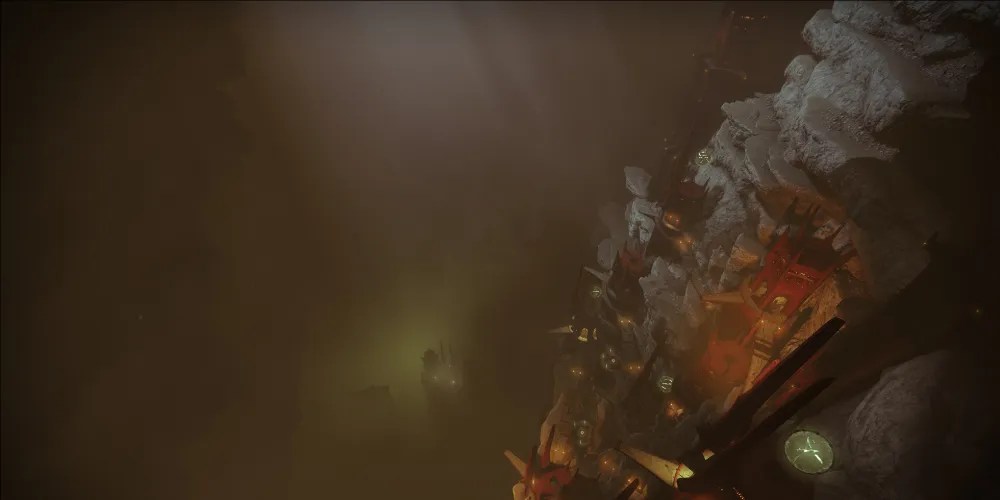
Necropolis
Guardians will notice that on the top of buildings and structures, there are green symbols. The symbols indicate where the fireteam should travel next. Each green orb marks one of the potential objectives. First, players should head to the large red tower that sits at the precipice of the cliff overlooking the green orbs. Gamers will notice that there is a large open room inside the tower with a Swordbearer Knight inside.After defeating the Knight and picking up their sword, players will notice the three green hive symbols on the wall. These three symbols indicate which green markers the fireteam needs to look for.
Next, gamers need tohead to each of the three smaller towers that bear the symbols identified in the tallest tower. In each tower, gamers will need todefeat a Pitkeeper Knight. After defeating the knight, fireteams will be able to enter the room in each tower. There is no particular order that players need to follow, as long as all three Pitkeepers and bosses are killed. To streamline the process, each member of a squad can break off and defeat one Pitkeeper on their own. However, each room will have a boss that guardians must defeat as well.
Every boss will be immune to gunfire, abilities, and supers.The only way to defeat the bosses is by using the specific sword dropped by Swordbearer Knights.Gamers can find more Swordbearer Knights roaming the towers. Players should look out for the circular hive elevators, which are in each tower as they will allow gamers to travel back to the highest tower. However, players should be careful of standing on them while carrying a sword as they can cause some collision issues and deal damage to the player. Below are a list of the three bosses and how to damage them with the sword:
As this part requires the sword so much, there are not any particular builds that will do well. Players should be aware of the roaming Ogres and Knights that can end up overwhelming them and should not be afraid to drop their sword and use other weapons to take care of them. The swords will despawn after being on the ground for a short time. Players looking to complete this solo or without dying should take it slowly and maybe avoid the elevators as they can kill the player with collision issues.
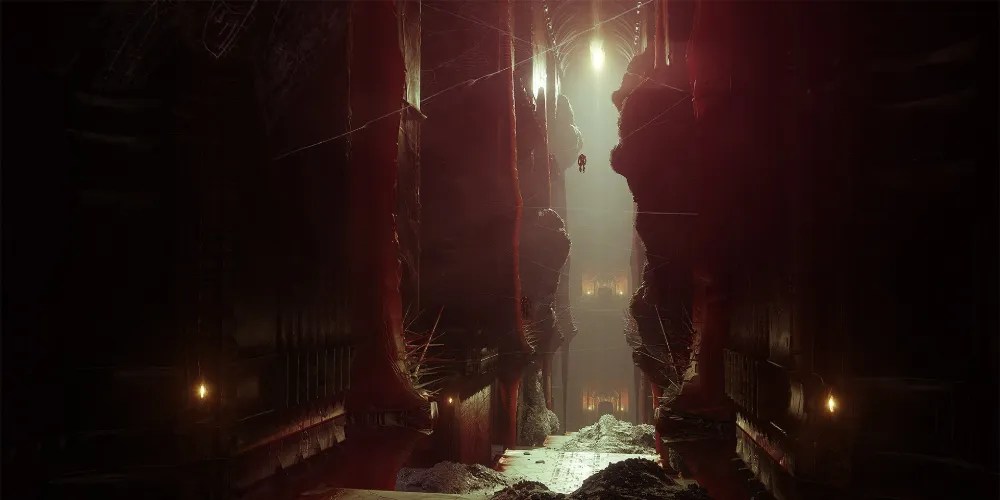
Tunnels of Despair
After defeating all three bosses, a pillar of green light will appear on the screen that will guide players to the next tower. Guardians must defeat the enemies in the tower and a door will open. As players proceed, they will find themselves in a room with dozens of doorways.
Almost every doorway has a trap door that will catapult players off of the map. Instead of trying to go through the doors, players should look for a small slit in the wall of doors which is just to the right of the platform in the room. This will lead them to the next encounter.

The next step in the quest is getting past the ogres. Guardians will not be able to defeat them, and there are small passageways to help players sneak through the dungeon. In this section of the quest, players will have to move between the three caves and complete objectives. To get back and forth without being decimated by the ogres, players need to shoot through the hive webbing in the caves, which will open up the passageways.
In each of the three caves, there is a yellow bar Knight guardians need to defeat.Each knight will dropan orb that can then be slammed near one of the three blocked doorways to defuse one of the runes protecting each door. Players must use the orbs on each doorway to advance in the dungeon. Next, players will be able to pass through the doors and begin the second phase of the encounter.
The Knights are spread out in this section and do not pose much of a threat to players. The Ogres, however, should be avoided as their Eye attacks can quickly tear through guardians and their slam attacks can bounce players off the walls, dealing a lot of damage.Healing Grenadesand similar ways of improving survivability could be useful here.
Chamber Of Suffering
Guardians must head to the totem at the back of the chamber and stand on the platform.If one guardian is not on the platform it will eventually glow red and kill the entire fireteam. While on the platform, players must deal with the de-buff curse of suffering, which will stack over time. This curse can stack up to 5x and increases the amount of damage dealt to that player.
To prevent the curse from stacking,guardians need to kill Heretical Knights and collect the orbs they drop. Byslamming the orbs near the totem, the effects of the curse will be removed for a short period. Each player on the team should rotate leaving the platform to slam an orb and remove the effects of the curse temporarily. After slamming six orbs, the door at the back of the chamber will open.

Bubble shields and wells of light are particularly effective while holding the platform. Players should beware thatdunking causes knights to spawn on a platform near the ceiling of the chamber, as they pack a punch.Xenophage,if players have it, can be very useful hereas it can quickly one-shots the knights on the platform above and can deal a lot of damage to the Heretical Knights.
Solo players will need to return to the platform often. Running to pick up one of the orbs dropped by the Heretical Knights takes almost enough time to fully charge the totem and wipe the encounter, so players may want to kill the knights and then return to the platform first before running to collect the orb.Survivability builds using things such as invisibility, woven mail, or restoration will shine hereas each dunk causes a lot of enemies to spawn.
The Harrow
In the following section of the dungeon, players will have to avoid spinning fans with spikes on their way to the bottom of the pit. While this part can be frustrating, it is relatively simple. Once squads have reached the initial opening,there will be three green hive symbols on the wall. This should sound familiar by now.
Players will need to avoid the traps and traverse the pit tofind the three locations bearing each symbol. In each location, there will be a wizard that guardians must defeat.Gamers can explore and use their radar to find the three wizards and kill them. After killing all three wizards, the ruins will fall and a doorway will appear in the center of the area. While the wizards are not very difficult to kill, they can deal some decent damage back, so players may want to be careful. They can then follow the red doorway to the next step in the instance.
The hardest part of this encounter is keeping track of where the different symbols are and not getting killed by spikes or falling. Any way of improving the player’s movement could be worth considering here, whether that is with theStrand Grapple, Icarus Dash, or an exotic such as Lion Ramparts.
Final Encounter
The path through the doorway will eventually lead gamers to a long bridge. At the end of the bridge, fireteams will have to defeat Zulmak, Instrument of Torment.Before fighting Zulmak, guardians will have to repeat the process of defeating the three minibosses with the sword from earlier in the quest.
Each of the three enemies will spawn on one of the three platforms around the pit.The knight, wizard, and shrieker will have the same invulnerabilities as before. Each of the techniques needed to defeat these majors is listed above. Once again, theSwordbearer Knights spawn in the center, and killing them is the only way to obtain the sword.
After the three smaller bosses have been defeated, and their orbs have been picked up and dunked around the main bosses' platform, there will be a green glow on the platform Zulmak is standing on.Gamers must be in that circle to deal damage to Zulmak. If fireteams do not defeat the boss quickly enough he will stab his sword into the platform and use the crystal energy to wipe all guardians on the platform. With three players, the fireteam should be able to use their weapons and abilities to eliminate Zulmak before he uses the crystal energy.
If they do not deal enough damage or are playing solo, they may need to leave the platform as the energy builds and then kill the minibosses and dunk their orbs once more to be able to deal damage to Zulmak again. The player’s choice of DPS build is the way to go here.Builds such as theStarfire Warlockor the Thundercrash Titan will do the job and weapons such asWitherhoard, Izanagis, and rocket launchers are all reliable.
After Zulmak is defeated, he will drop a chest containing legendary armor and weapons. As with all the encounters in the Dungeon, players can be rewarded with any of the Moon weapons and armor and the Premonition pulse rifle.
Destiny 2is available on PC, PlayStation 4, Xbox One, PlayStation 5, and Xbox Series X/S.
